
Quick Verdict
If your espresso keeps changing from one morning to the next, measure three things before buying more tools: the dry coffee dose, the liquid espresso yield, and the time the shot runs. For a small apartment counter, a compact scale that can sit under your cup is usually more useful than a larger feature-heavy scale that does not fit your machine.
Start with the dose range in your own machine manual, then repeat the same dose while you adjust only one variable at a time. This is a calmer and more useful beginner routine than chasing a universal recipe.
Who This Guide Is For
- A beginner using a compact espresso machine with a tight drip tray or low cup clearance.
- A renter who wants a repeatable morning drink without filling the counter with accessories.
- Someone who can pull a shot but cannot tell whether a different result came from the dose, the yield, the grind, or the timer.
Skip this guide if you only want occasional pre-ground coffee and are happy with the machine's preset volume. You can still use the machine that way; measuring becomes useful when you want to learn from a changing result.
What the Three Numbers Mean
Dose is the dry coffee that goes into the basket. Yield is the liquid espresso that ends up in the cup. Time is the elapsed extraction time. They are notes about one shot, not a promise that every coffee must match the same numbers.
Your machine manual comes first. For example, Breville's Bambino manual gives different guidance for its one-cup and two-cup baskets and says that changing basket size means adjusting grind amount and size. It also advises changing one factor at a time when dialing in. That is a useful small-space rule because it avoids wasting coffee while you change several things at once.
A Simple Countertop Routine
- Put an empty dosing cup or portafilter on the scale and tare it. Add coffee until you reach the dose you chose from your basket's manual.
- Prepare and tamp exactly as your machine manual directs. Keep the basket, grind setting, and tamping routine unchanged for this first comparison.
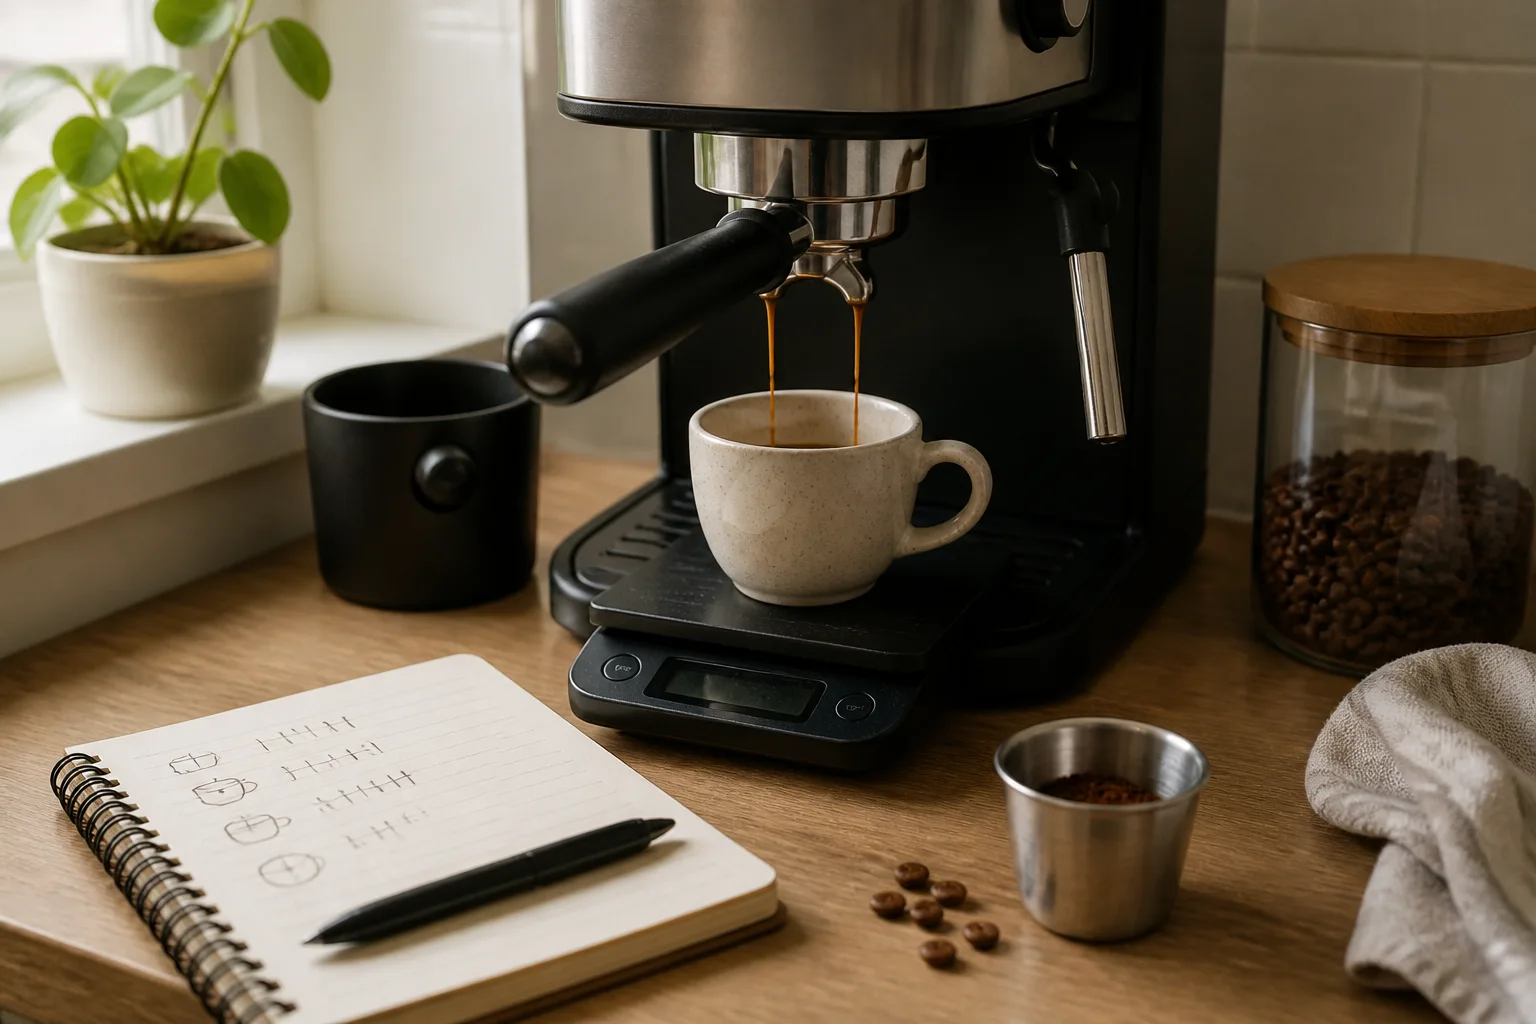
- Put your serving cup and the scale on the drip tray, if the scale fits flat and leaves safe clearance below the spouts. Tare the cup.
- Start the shot and timer together. Stop the shot close to the yield you intended to compare.
- Write down dose, yield, time, coffee, and whether the cup fit stably. Taste the drink before changing anything.
If the scale does not sit securely under the cup, do not balance it on a towel, board, or an overhanging tray. Measure the available tray width and height first, or use a wider cup only when the machine manual allows it. A scale that fits the real workflow is the point.
How to Choose a Compact Scale
| Decision factor | Why it matters in a small space | What to verify |
|---|---|---|
| Footprint | A large scale can block the cup or hang over a small drip tray. | Measure the usable tray area, not only the machine width. |
| Height | Extra height can remove the cup clearance you need while brewing. | Check cup, spout, and scale clearance together. |
| Readability and timing | You need to see the number without leaning into a hot machine. | Check display angle, timer controls, and automatic shutoff behavior. |
| Cleanup | Coffee grounds and drips accumulate quickly near a compact machine. | Confirm the current listing's care instructions and whether the surface is easy to wipe. |
Shortlist and Tradeoffs
BAGAIL BASICS compact coffee scale with timer
This is the one product card in this guide because a compact coffee scale directly supports the dose-and-yield routine. Its value here is not a guaranteed recipe or a substitute for a machine manual; it is a dedicated place to record repeatable weights when a typical kitchen scale is too large or too coarse for the drip tray.
Choose it only after checking the current Amazon listing for the exact model, dimensions, display controls, return terms, seller, and whether it is currently available. Skip or buy later if your existing scale fits safely and gives you a repeatable reading, or if your machine's tray cannot accommodate this shape.
What to Change When a Shot Is Different
Do not change everything because one cup tastes off. Keep the dose and target yield written down, then make a single small adjustment according to your machine manual. Breville's manual, for example, connects a fast flow with a coarser grind or too little coffee and a very slow flow with a finer grind. Those are starting points for that machine, not universal settings for every espresso maker.
A practical order is:
- Check that the basket, dose, and coffee are the same.
- Compare yield and time with your earlier note.
- Change one grind increment or one clearly documented dose adjustment.
- Repeat before deciding whether you need a new tamper, basket, WDT tool, or grinder.
For more small-space workflow help, see Espresso Accessories Beginners Can Skip, Best Coffee Scales That Fit Compact Espresso Machines, and How to Troubleshoot Espresso One Variable at a Time.
What Not to Buy Yet
Do not add a bottomless portafilter, WDT tool, upgraded tamper, or smart scale just because your first shots vary. First prove that you can measure the same dose and compare the same yield on your current basket. Add a tool later only when it solves a specific problem: a scale that does not fit, repeated clumps, an uncomfortable tamper fit, or a confirmed basket compatibility need.
Before You Buy
- Read the manual for your exact espresso machine and basket.
- Measure the usable drip-tray area and the gap below your spouts with the cup you actually use.
- Confirm the exact Amazon product, seller, dimensions, return terms, current price, and availability.
- Keep water and loose grounds away from the scale controls, and follow the scale's current care instructions.
Final Recommendation
For a beginner in a small kitchen, write down dose, yield, and time before adding more espresso accessories. A compact coffee scale is a sensible first support purchase only if it fits your real cup-and-drip-tray setup safely. Let your machine manual and your own repeatable notes guide the next adjustment rather than a fixed internet recipe.