Quick Verdict
For most apartment espresso beginners, the lowest-mess grinder clean is not a dramatic teardown: unplug the grinder, empty the beans, remove only the parts your own manual permits, and use a dry brush over a tray or towel. Do it when retained grounds, slow grinding, a bean switch, or your maker's schedule calls for it—not because an internet calendar says every grinder needs the same routine.
Who This Guide Is For
- You use a compact burr grinder for espresso in a small kitchen.
- You want to remove loose coffee dust without sending it across the counter or into a tiny sink.
- You are new to grinder maintenance and do not want to disturb a model-specific burr setting.
Skip this general routine if your grinder is clogged, makes an unusual sound, has a damaged cord, or its manual requires a different procedure. In those cases, use the exact manufacturer support instructions or contact the maker before taking more parts off.
Why Small-Kitchen Cleaning Gets Messy
A grinder holds dry coffee particles in the hopper, burr chamber, chute, and grounds bin. In a compact kitchen, the usual mistake is carrying an open grinder to the sink, using water around burrs that should stay dry, or blowing grounds around the room. That creates more cleanup and can turn a simple maintenance task into a model-specific reassembly problem.
Recent beginner discussions show that people disagree widely about how often to deep-clean. Treat those experiences as a reminder to inspect your own workflow, not as a universal interval. Baratza's current maintenance guide instead ties routine cleaning to loose grounds, oils, chaff, and clog prevention, and gives model-aware steps such as removing the hopper and upper burr only after unplugging.
The Low-Mess Setup
Before you start, create one contained work zone:
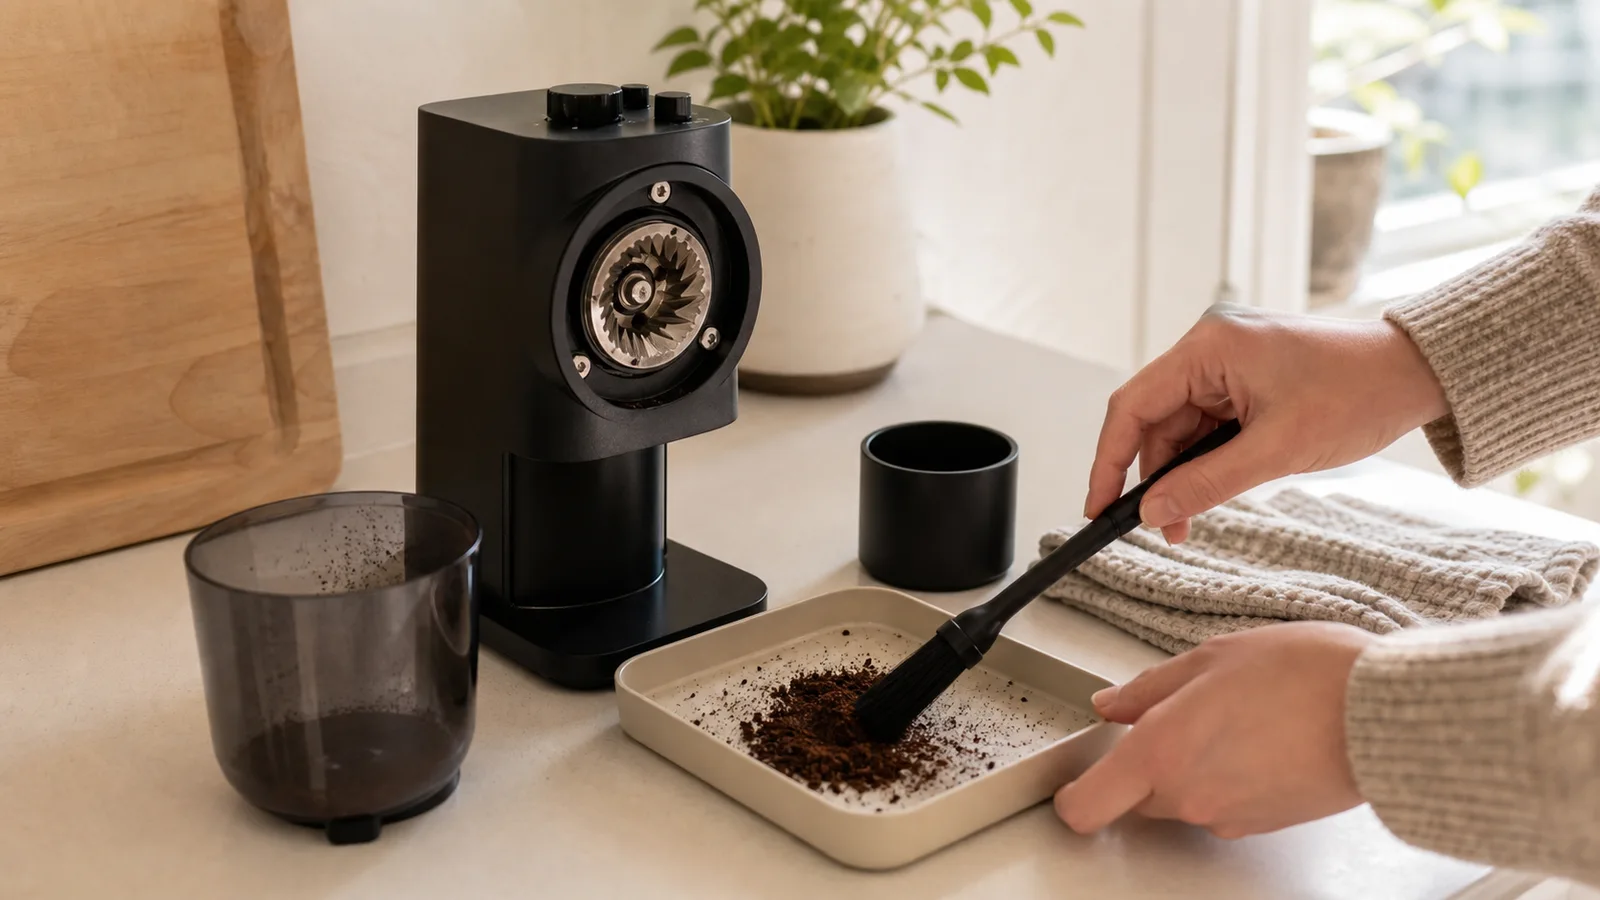
- Put a dry tray, rimmed baking sheet, or folded towel under the grinder.
- Keep a small dry brush and a dry cup or bin for loose grounds nearby.
- Move your espresso machine, scale, and clean dishes away from the work zone.
- Read the cleaning section of your grinder's current manual before removing a hopper, burr, or adjustment part.
The tray is not a special espresso accessory. It is simply a boundary that makes it easier to return loose grounds to the bin instead of chasing them across a rental counter.
A Conservative Cleaning Routine
1. Switch off and unplug first
Turn the grinder off, unplug it, and wait for all motion to stop. Do not clean inside a powered grinder or reach into the burr area with the machine connected to power.
2. Empty beans and clear the easy-to-reach grounds
If your model allows it, empty the hopper and run out only the remaining coffee according to the manual before disassembly. Remove the grounds bin. Over the tray, tap out loose grounds and brush the bin, hopper, and visible chute area.
Do not use water in the burr chamber. Some removable plastic parts may be washable on certain models, but they must be fully dry before going back on. Follow the manual rather than assuming every hopper or bin is treated the same way.
3. Remove only the manual-approved burr or cover
Many home grinders let you remove an upper burr for cleaning; others use a different layout. Stop at the step your manual describes. Brush loose coffee from accessible surfaces into the tray. Avoid forcing a brush, tool, or vacuum nozzle into a tight passage.
If you find a packed chute or a suspected clog, do not improvise with liquids. Baratza's current guide, for its applicable grinders, says to unplug first and clear the chute with an appropriate small, stiff tool. Your own maker may specify a different tool or service route.
4. Reassemble slowly and test cautiously
Return each part in the order your manual gives. Confirm that the hopper, burr, bin, and adjustment pieces are seated correctly. Test with a small amount of coffee at a coarse setting only if your manufacturer instructs that approach. If the grinder sounds different, will not run, or its setting no longer behaves as expected, stop and use the manufacturer's troubleshooting path.
5. Wipe the station before restoring your coffee setup
Empty the tray or fold the towel inward over the bin, then wipe the outside of the grinder and the counter with a dry or barely damp cloth that never enters the burr chamber. Let every removable washed part dry completely before reassembly. Return the scale and espresso tools only after the counter is clear.
What to Use—and What to Avoid
| Item | Useful role | Apartment-safe caution |
|---|---|---|
| Dry small brush | Lifts loose grounds from accessible areas | Keep it dry and use gentle pressure |
| Tray or folded towel | Contains grounds on a small counter | Keep it away from the sink edge and electrical outlets |
| Current manufacturer manual | Tells you which parts can come off | Use the exact model manual, not a look-alike video |
| Water, sprays, or wet cloths inside the grinder | Not part of the routine | Keep moisture out of burr and electrical areas unless the manual explicitly says otherwise |
| Aggressive teardown tools | Usually unnecessary for routine cleaning | Do not force adjustment or burr parts you do not understand |
When a Cleaning Product Can Wait
Some grinder makers allow purpose-made cleaning tablets; others may have a different recommendation or no recommendation for your model. This article intentionally does not name a universal product card because compatibility is a safety and warranty question, not a generic apartment upgrade. Buy a cleaner only after the exact grinder manual permits it and you understand the required follow-up purge steps.
A compact brush and a contained dry work zone solve the common beginner problem first. Add a specialized cleaner later only when your manual supports it or when persistent oil residue, a bean change, or a maintenance schedule makes it relevant.
A 10-Minute Apartment Workflow
- Choose a time when the counter and sink are free.
- Place the unplugged grinder on a tray or towel.
- Brush only the accessible, manual-approved areas.
- Put loose grounds straight into the bin rather than rinsing them into a small sink.
- Reassemble, wipe the exterior, and store the brush in the same drawer as your other dry coffee tools.
This is deliberately a light maintenance routine, not a promise that every grinder is clean in ten minutes. Oily beans, a clogged chute, frequent bean changes, or a grinder with a different burr design can require more time and model-specific instructions.
Before You Clean
- Confirm the exact grinder model and find its current manufacturer manual.
- Unplug before opening the hopper, burr chamber, or chute.
- Check which parts may be removed or washed, and which must stay dry.
- Use a tray or towel so grounds stay contained on your counter.
- Stop if you see damage, a blockage you cannot safely clear, or a reassembly step you do not understand.
For related beginner setup decisions, read how to troubleshoot espresso one variable at a time and how to clean an espresso machine.
Final Recommendation
Keep grinder cleaning simple: manual first, power disconnected, dry tools only where appropriate, and one contained counter zone. A careful brush-out guided by your exact manual is more useful for a small apartment than buying another gadget or attempting a teardown you cannot confidently reverse.