
Quick Verdict
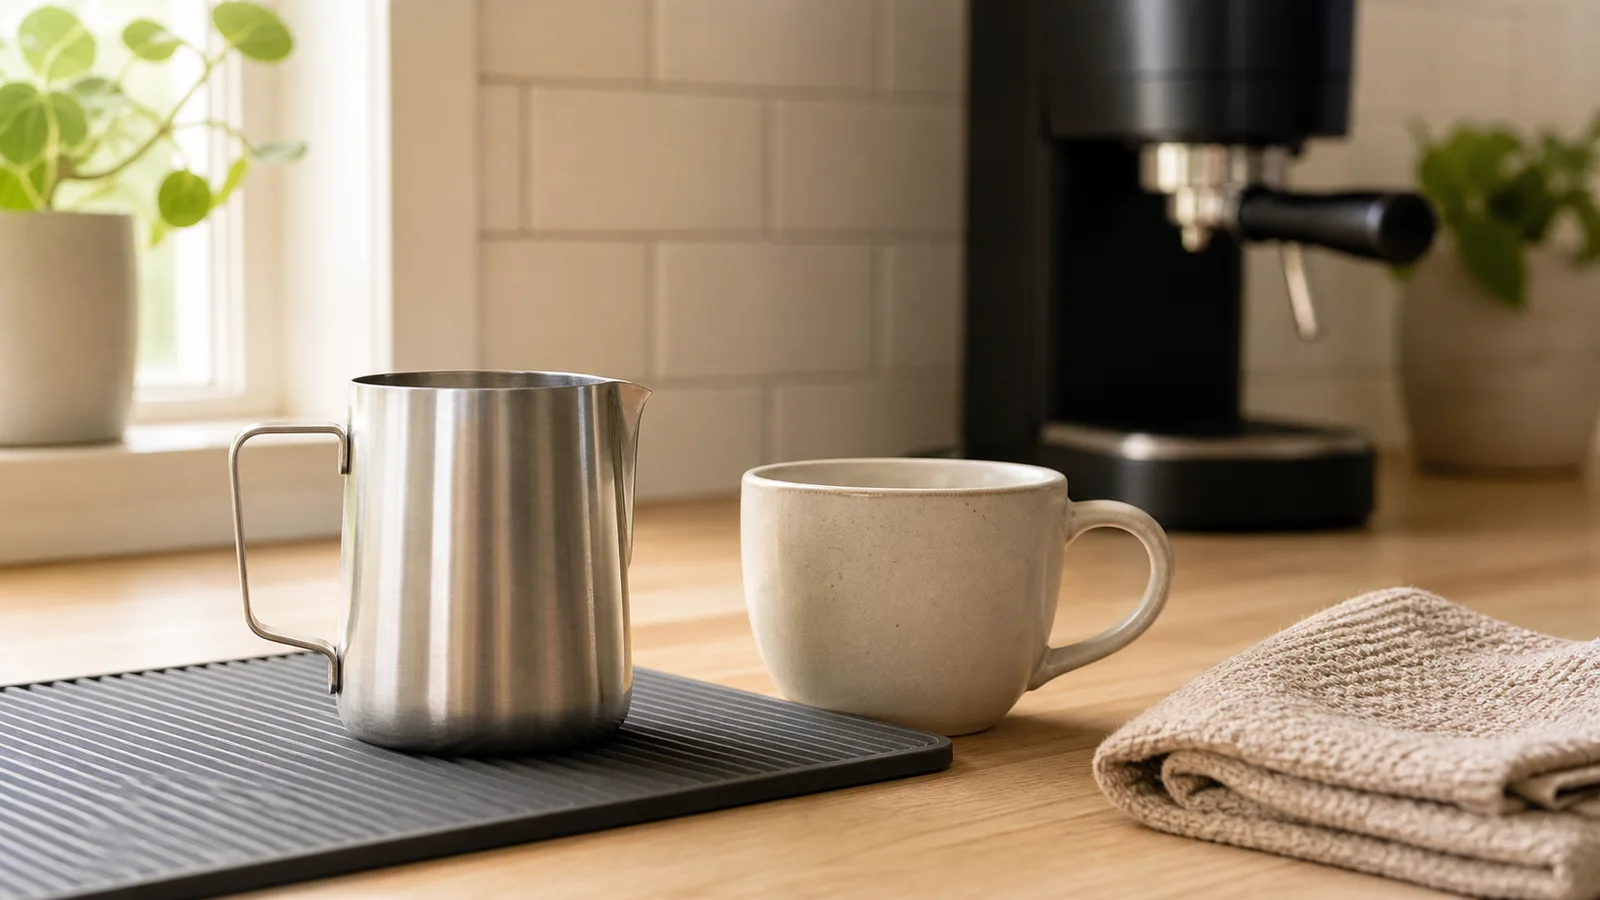
If you use an espresso machine steam wand for hot milk drinks, start with a simple dedicated stainless-steel milk pitcher instead of trying to steam in a drinking mug. The point is not latte art or expensive gear: a pitcher gives you a shape that is easier to hold, leave room for milk to expand, and pour from. Check your own machine manual first, because the manufacturer’s instructions control the safe vessel, fill level, and cleaning routine.
If you mostly make iced drinks, do not own a steam-wand machine, or do not plan to texture milk yet, you can skip this purchase for now.
Who This Guide Is For
- Apartment beginners making one hot latte, cappuccino, or oat-milk drink at a time.
- Readers with a compact machine and a small sink who want fewer spills and less extra equipment.
- Anyone deciding whether a basic pitcher is useful before spending on specialized latte-art accessories.
Skip this guide if your machine uses a manufacturer-supplied automatic milk jug or frother with its own fill marks; use that exact jug and its instructions instead.
What Usually Goes Wrong
A drinking mug can feel convenient because it is already on the counter, but it is not automatically the right shape or capacity for steam-wand work. Beginners often fill a vessel too high, leave too little room for the milk to expand, or try to judge the process while also holding a hot mug. A separate pitcher will not create good microfoam by itself, but it makes the basic routine easier to repeat.
Breville’s current steaming guide lists a steaming pitcher as part of the setup, recommends cold milk, and says to avoid overfilling because the milk expands. Its instructions are a useful starting point, not a substitute for your own machine’s manual.
How to Choose
| Decision factor | Why it matters in a small space | What to verify |
|---|---|---|
| One-drink capacity | A smaller pitcher can reduce leftover milk and cabinet clutter | Your normal drink size and the machine manual’s fill guidance |
| Fill room | Milk volume changes while texturing | Leave headroom; do not fill to the rim or past the guidance for your vessel |
| Grip and pour | A controlled hold helps when the counter and sink are close together | Handle comfort, spout shape, and whether you can keep a damp cloth nearby |
| Cleaning route | Dried milk residue is harder to remove later | Your machine’s wipe-and-purge instructions and where the pitcher will air-dry |
Shortlist and Tradeoffs
Amrules 12 oz milk frothing pitcher: simple one-drink starting point
The Amrules 12 oz milk frothing pitcher is the compact product-card example for a beginner who makes one smaller milk drink at a time and wants a dedicated vessel without adding a large café-style pitcher to a small cabinet. The current Amazon card identifies it as a stainless-steel 12 oz pitcher with measurement marks; confirm the exact listing, materials, dimensions, included accessory, seller, price, and availability before buying.
Choose this type of pitcher when your normal drink uses a modest amount of milk and you can follow the fill guidance for your machine. Skip it for now if you only make iced coffee, use a separate automatic frother with its own jug, or routinely make two larger drinks together; forcing too much milk into a small pitcher is not a better workflow.
Small-Kitchen Workflow
- Read the steam-wand section of your machine manual and place a clean, damp cloth where you can reach it.
- Start with cold milk and add only the amount that leaves sensible headroom; use the machine manual and the pitcher markings as references, not a fixed recipe.
- Purge the wand only as your manual directs, then texture the milk in the dedicated pitcher. Keep hands away from the hot wand and hot metal.
- Pour promptly, wipe the wand with the clean damp cloth, and purge again only as your manual directs.
- Rinse and dry the pitcher, then store it with the clean side up so it does not become another wet item on the shared counter.
For a broader beginner sequence, see What Do You Need for a Beginner Espresso Setup? and How to Clean an Espresso Machine. If you want to compare standalone milk options, read How to Make Latte at Home Without a Big Machine.
What Not to Buy Yet
Do not buy a second pitcher, a thermometer, a specialty spout, or a latte-art tool just because a first pitcher does not make the milk perfect. First repeat the same milk, amount, and manual-approved cleaning routine a few times. Add another tool only when you can name the specific problem it would solve, such as needing a larger vessel for a regular two-drink routine.
Before You Buy
- Confirm that your machine is designed for manual steam-wand use and read its current manual.
- Confirm the current Amazon listing, seller, dimensions, materials, return terms, price, and availability.
- Compare the pitcher’s practical fill room with your normal drink, not just the printed total capacity.
- Make sure your counter, sink, and drying spot support a quick wipe-and-rinse routine.
Final Recommendation
For a compact beginner latte setup, a basic dedicated milk pitcher is a sensible first tool when you actually steam milk. Keep the choice simple, follow your machine’s manual, and do not treat a pitcher as a required upgrade for iced drinks or an automatic-frother routine.